Lets start by getting your enviroment setup. If at any point there is confusion, don't worry, we can also complete the setup as part of the first lesson. In computer science, an "environment" generally refers to the setup or configuration of the system needed to develop, run, or test software. This can include everything from the operating system, programming language versions, libraries, tools, and any specific configurations required for a project.
In our case, we'll be installing a few different dependencies.
There is a lot of code out there and a lot of things that people want their website or project to do are similar.
So a lot of really awesome programmers make a library of code and share it online that other people can use for their projects!
When this shared code is publicly available for anyone to view, use, modify, and share we call it "open-source".
Think of this shared pieces of code as building blocks, instead of rewriting code for common functionalities, programmers usually rely on these pre-built tools to get their project done faster.
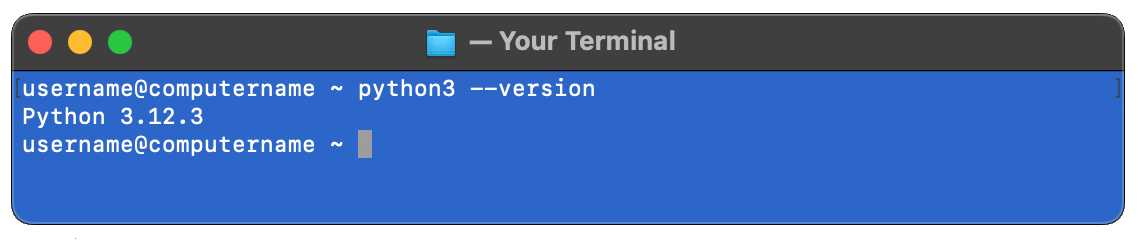
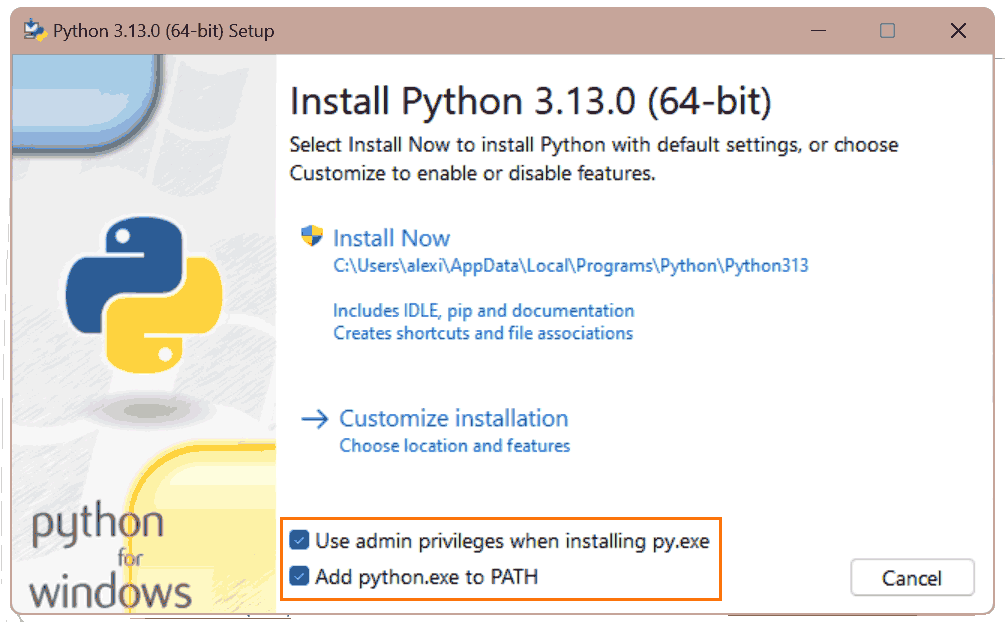
The dependencies we want to include for website project is called Python and Django.

Python
Python is a programming language that’s super popular because it’s easy to learn and powerful enough to do a lot of cool things. Python is close to everyday English, so the code is clean and easy to read. This makes it great for beginners because you don’t have to learn a lot of strange symbols or tricky rules. You can use Python for tons of things—websites, data science, AI, game development, apps, and more! (Python skills are in high demand in tech jobs, from web development to AI!)
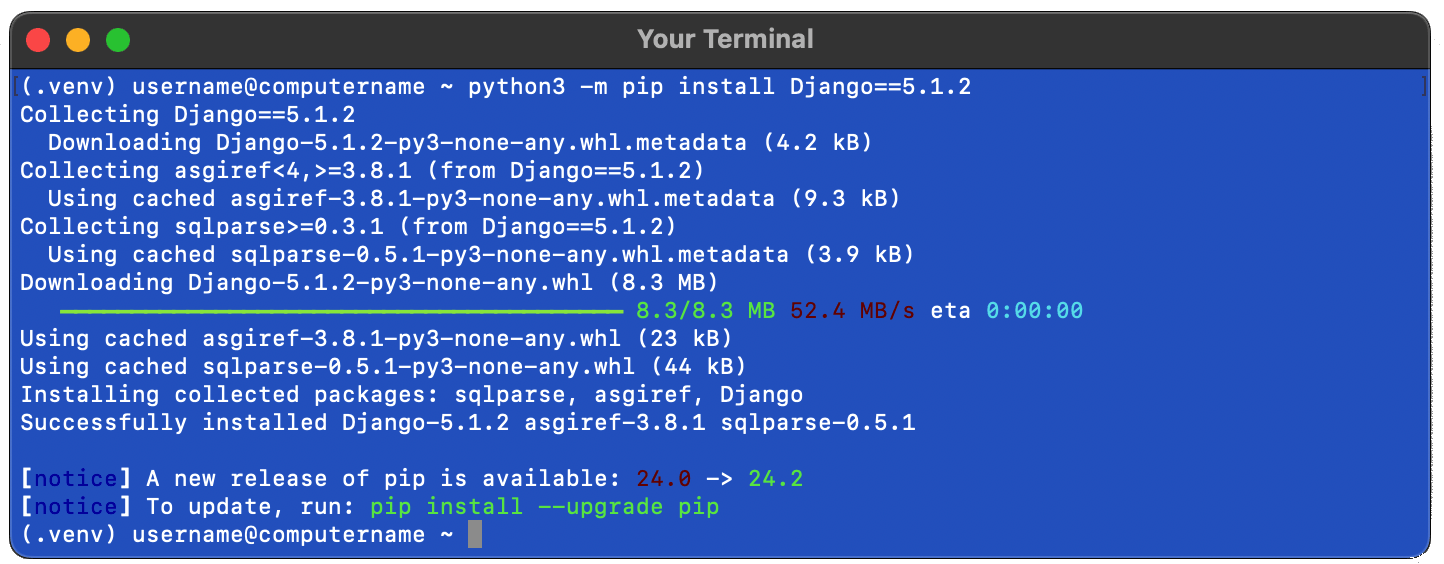
Django
Django gives you the basic pieces to make a website. You don’t have to build every part yourself — Django already has things ready, like ways to store information and tools to make pages look nice so that we can really focus on what we want our website to do!